Celo macOS Client

macOS Client

Download Here

  1. Download the Celo macOS client (link above)
  2. Go to Finder > Downloads and double click on CeloVPN.dmg
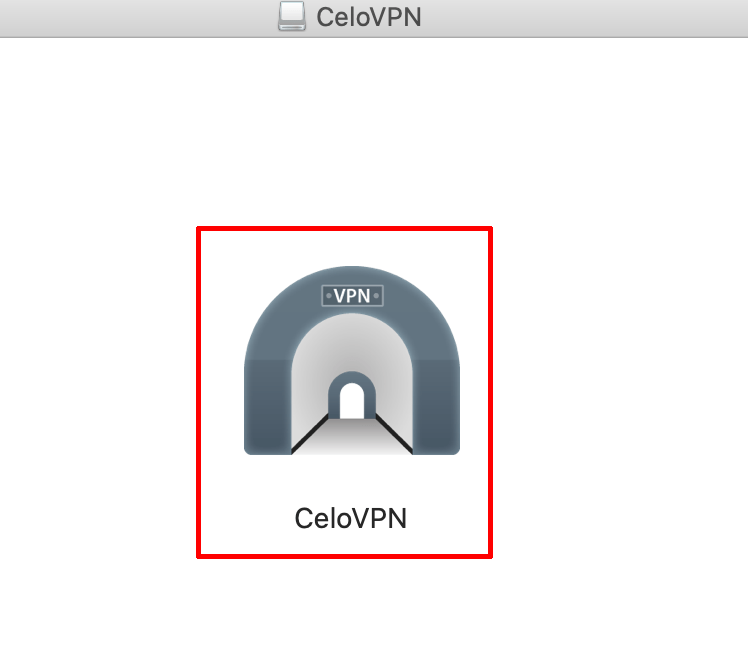
  3. Double click the large icon to start the installation
    Celo VPN macos install start
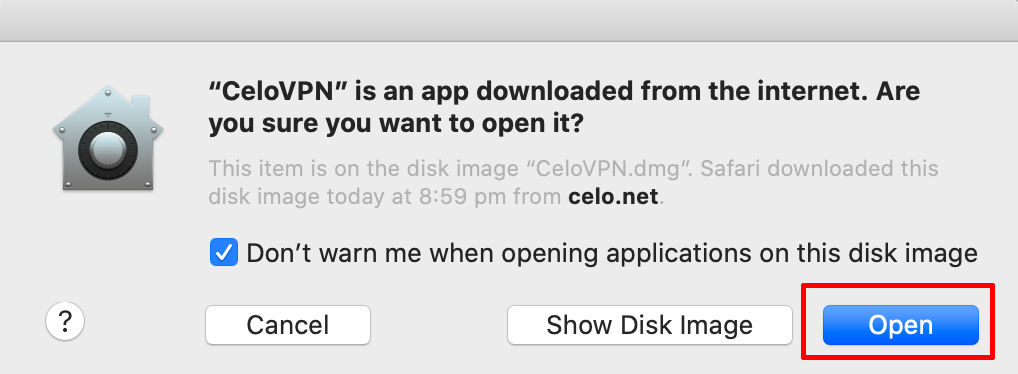
  4. Click on Open
    Celo VPN macos install open warning
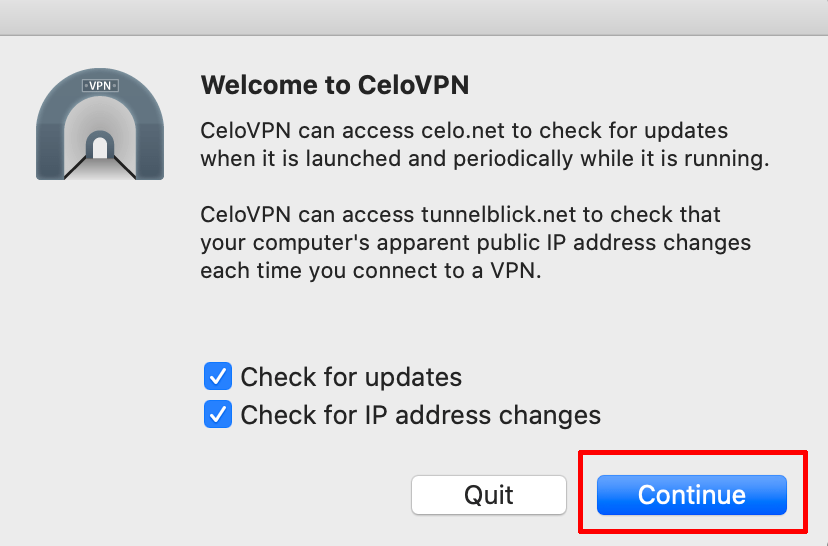
  5. Click Continue
    Celo VPN macos install welcome
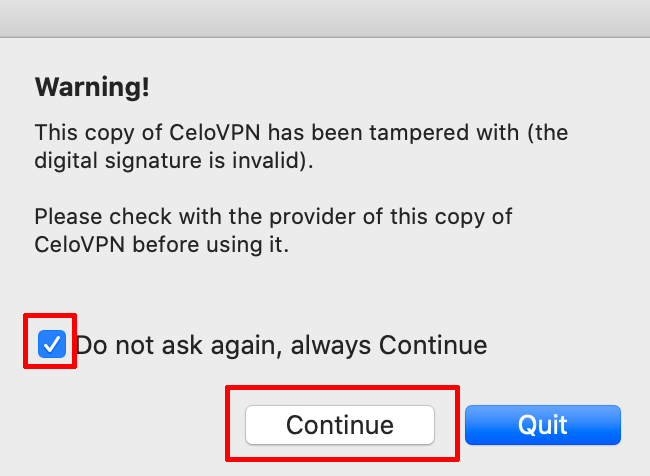
  6. Select the option Do no ask again > then Continue
    Celo VPN macos install warning
  7. On the notifications pop up, click on Allow
    Celo VPN macos notifications


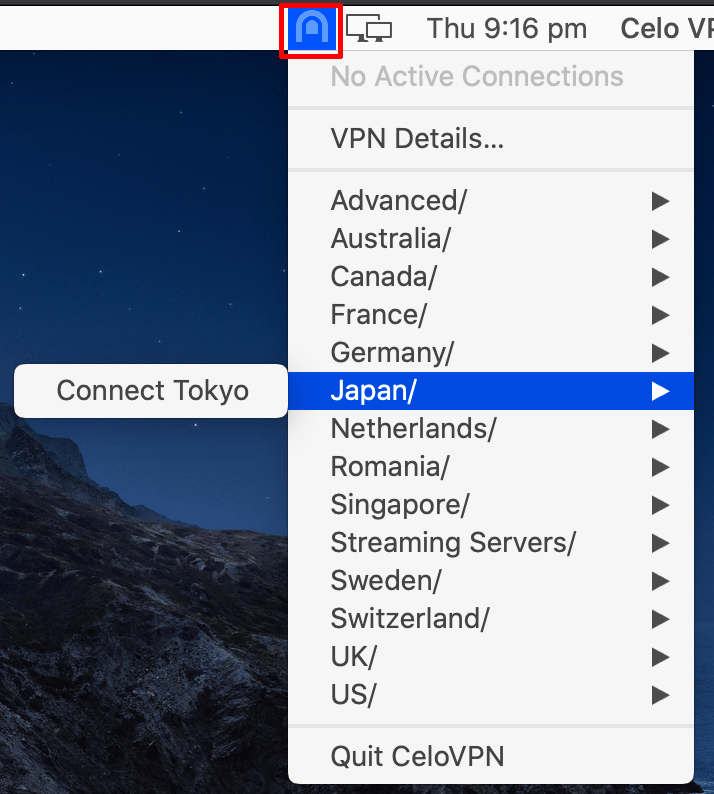
To connect to a VPN server, click the icon in the menu bar and select a server

Celo VPN macOS connect to VPN server

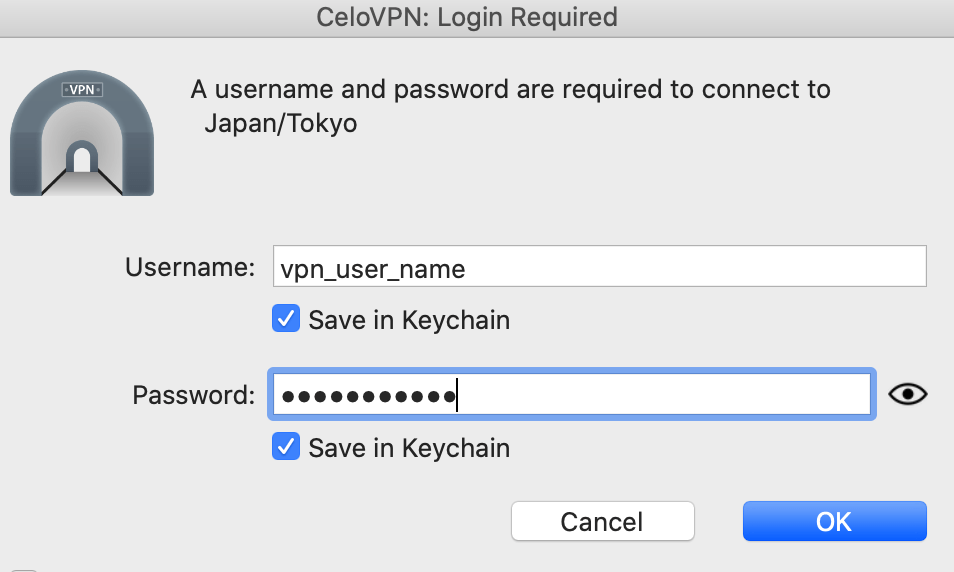
Enter in your VPN username (not your email) and password

Celo VPN macos username and password

DNS LEAK TEST

A good way to check your system for DNS leaks, visit DNS TEST LEAK and click on “Extended Test” This should show you a different IP to what you really have and different DNS servers

Updated on January 16, 2020
Was this article helpful?

Related Articles

Need Support?
Can't find the answer you're looking for?
Contact Support