- Download the Celo macOS client (link above)
- Go to Finder > Downloads and double click on CeloVPN.dmg
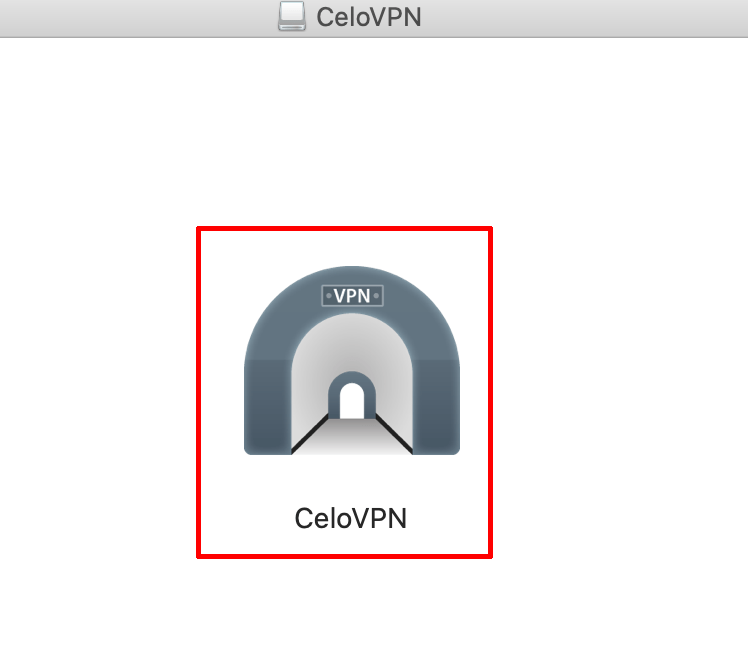
- Double click the large icon to start the installation

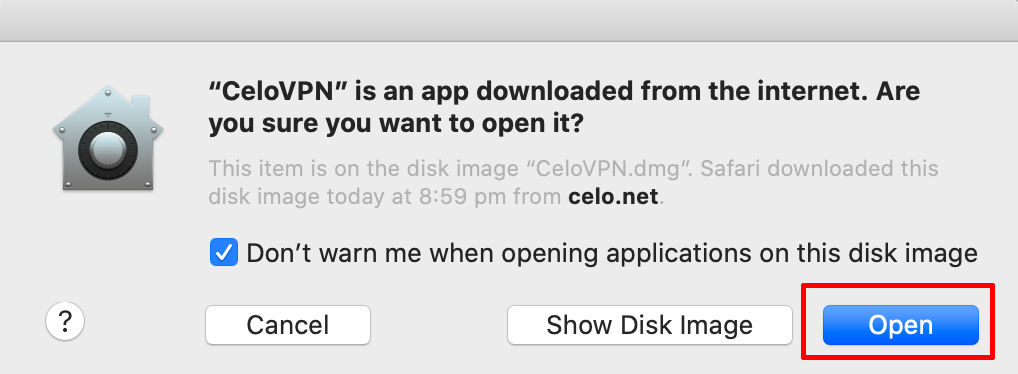
- Click on Open

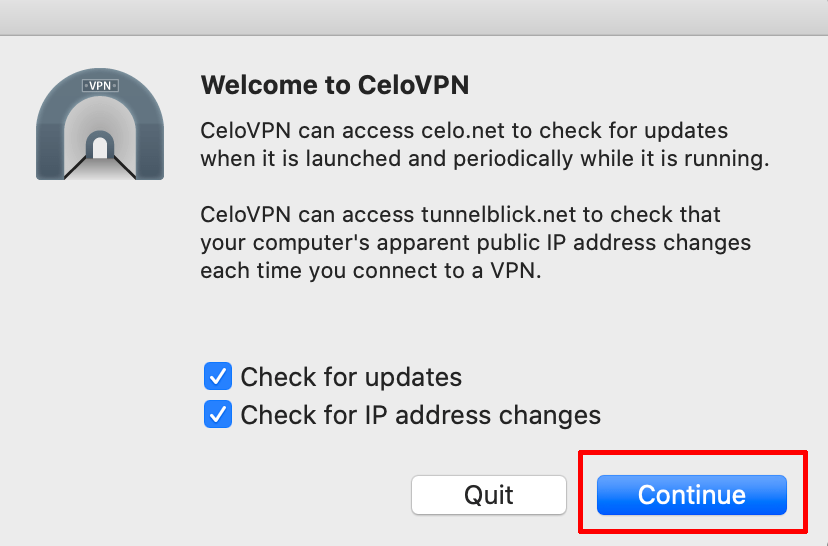
- Click Continue

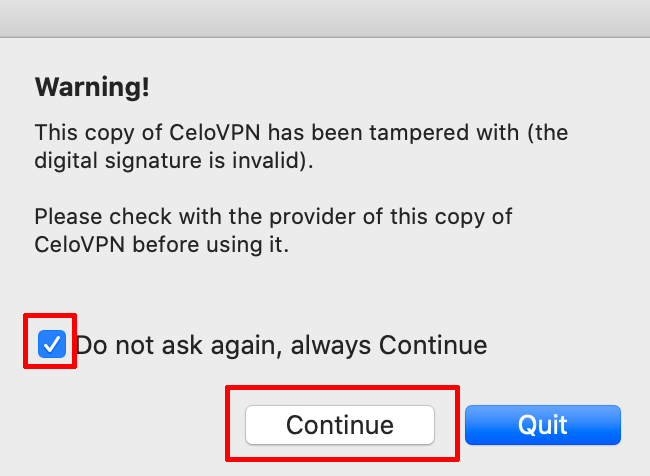
- Select the option Do no ask again > then Continue

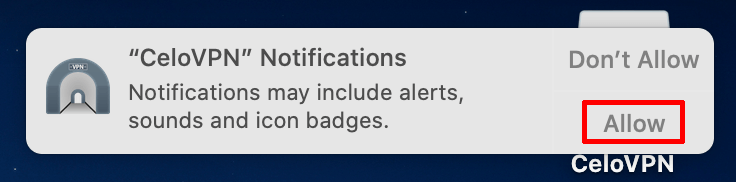
- On the notifications pop up, click on Allow

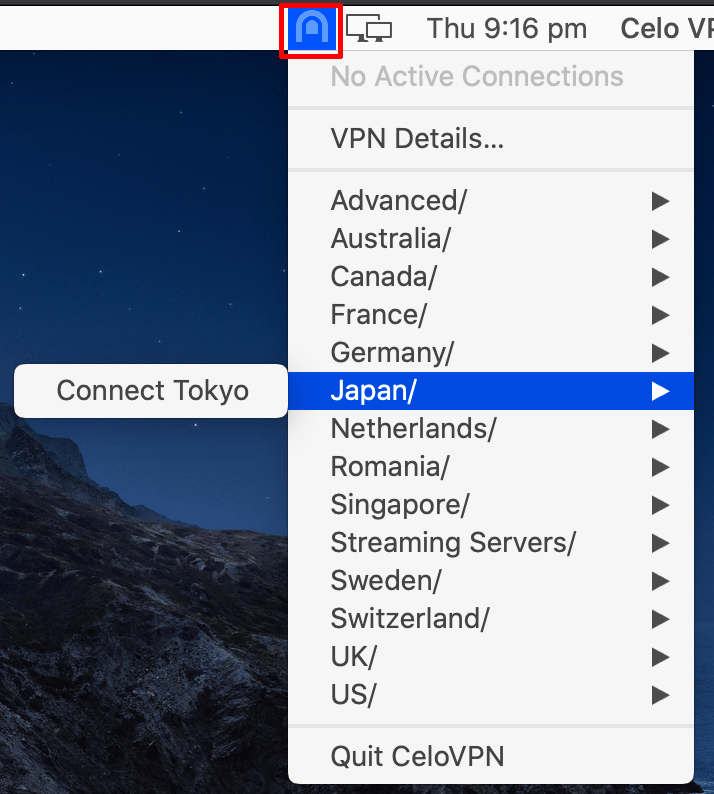
To connect to a VPN server, click the icon in the menu bar and select a server
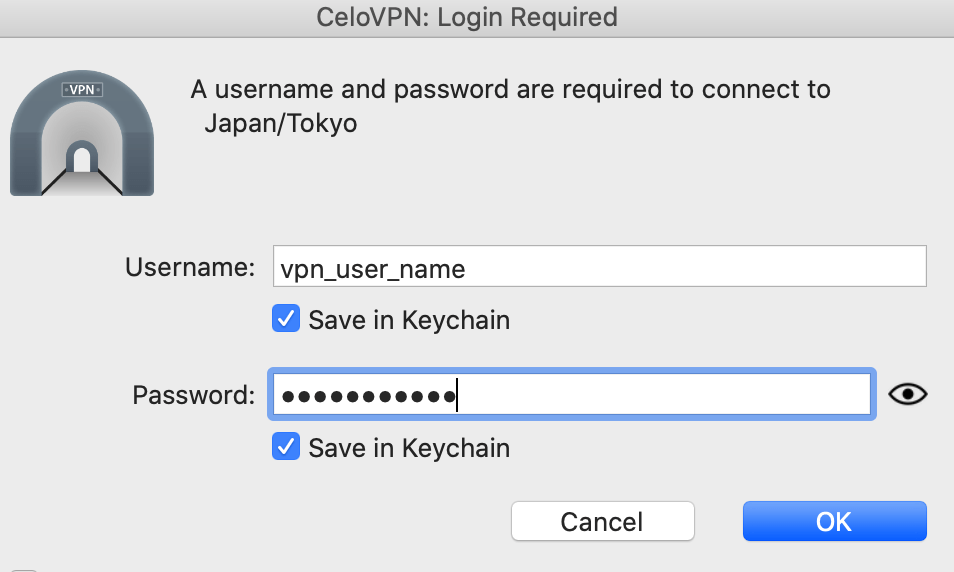
Enter in your VPN username (not your email) and password