Windows Client Setup

Windows Client

Download Here

Note

If you already have an OpenVPN program installed, it is best to un-install before continuing with the steps below

  1. Download the Windows client installer (link above)
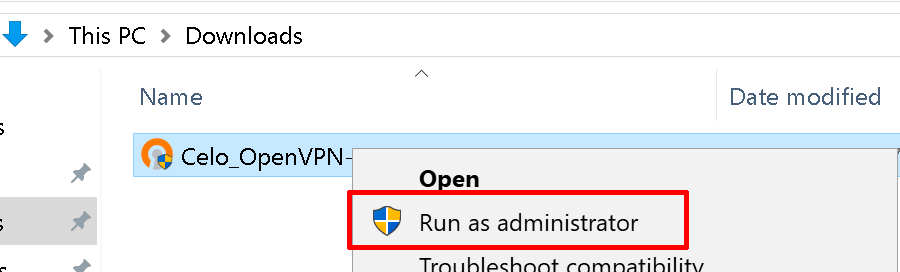
  2. Navigate to your downloads folder (eg Downloads folder)
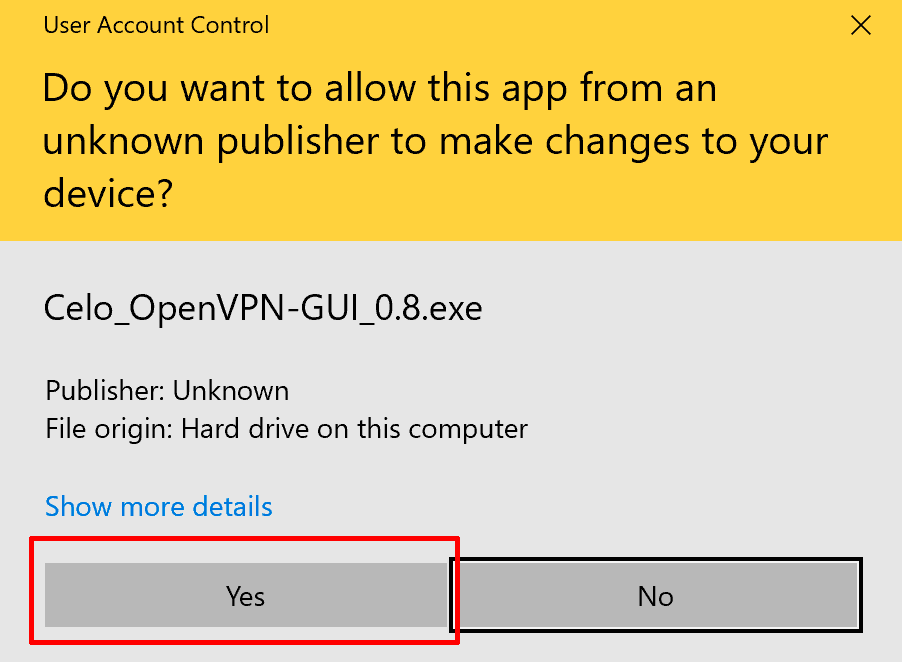
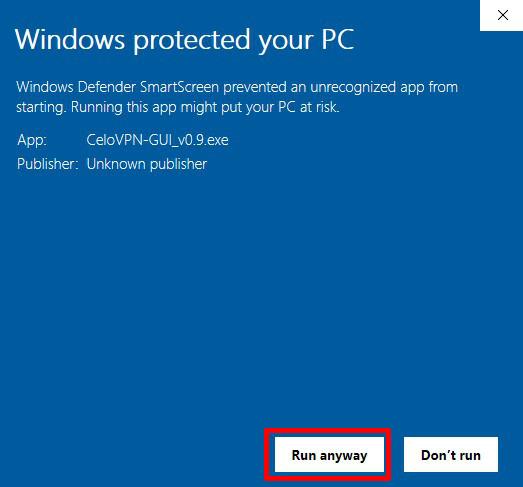
  3. Run the installer as administrator
    Note

    If your Virus Scanner/Windows Defender detects the installer, please allow/exclude it

    Celo OpenVPN Windows Installer Run as AdminCelo VPN Windows Install Allow
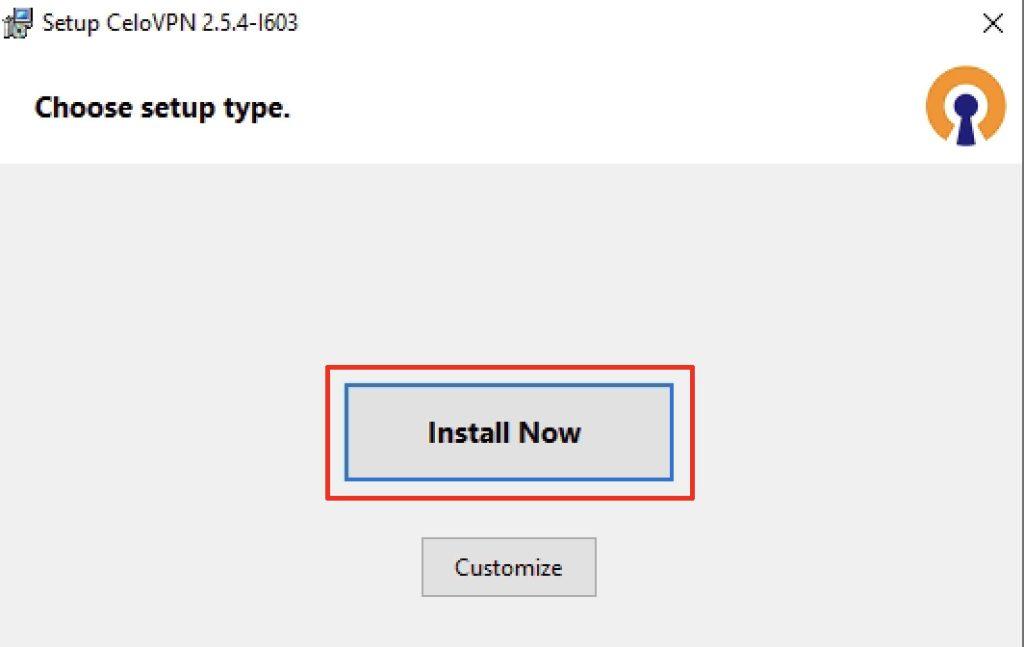
  4. Click on Install Now button.
    Celo VPN Windows Install Now
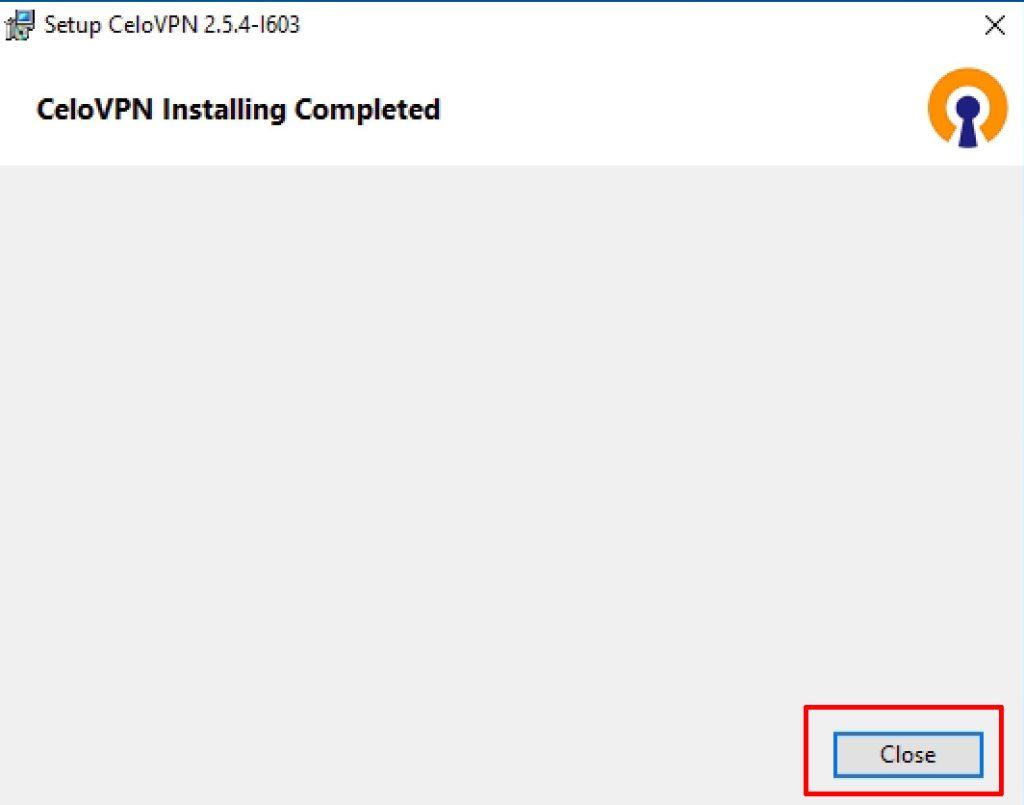
  5. Click Close once installation has finished
    Celo VPN Windows Install Complete
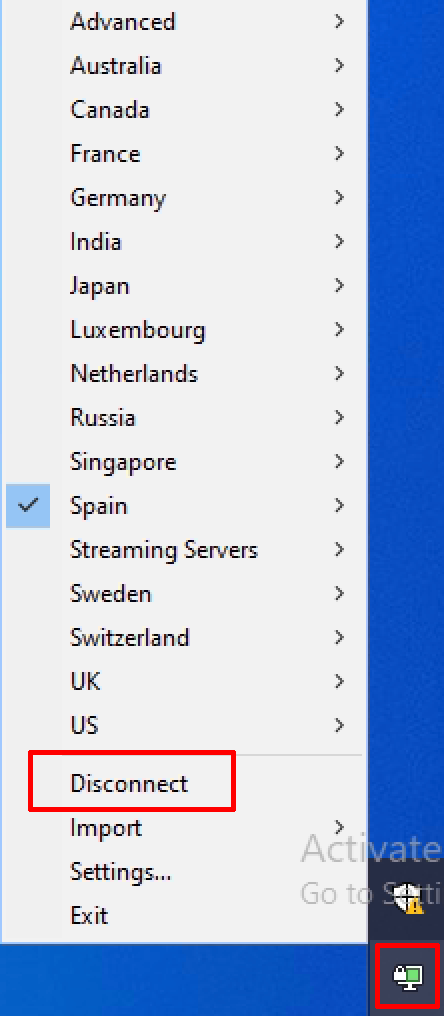
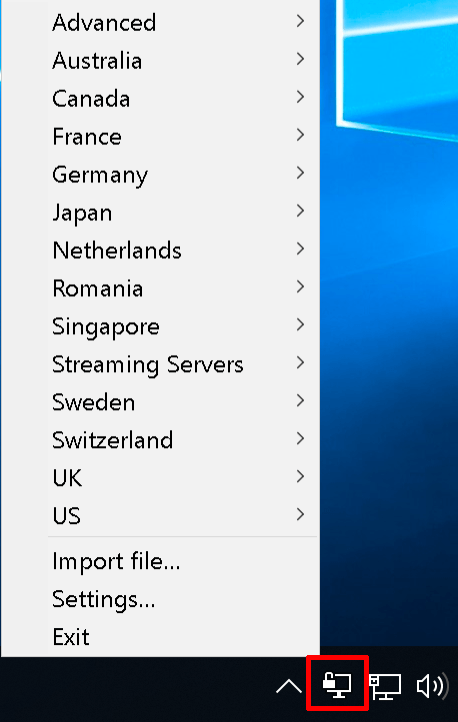
  6. Right click on the icon in your task bar to view all the servers available
    Celo VPN OpenVPN Windows Server List
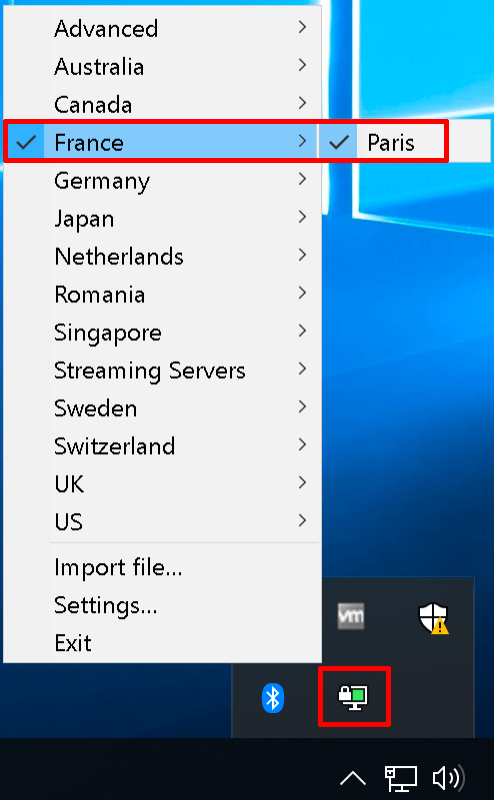
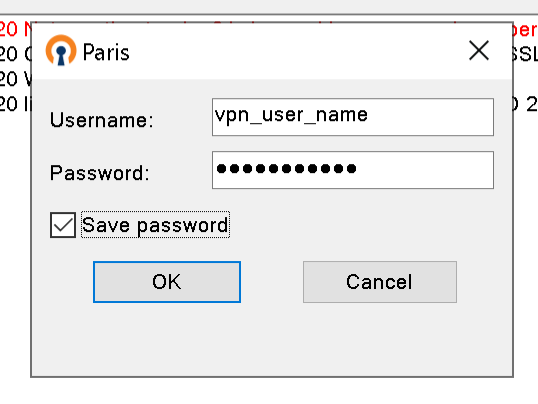
  7. Select a server location from the list, followed by your VPN username (not your email) and password
    Celo VPN OpenVPN Windows Server MenuCelo VPN OpenVPN Windows connect to server
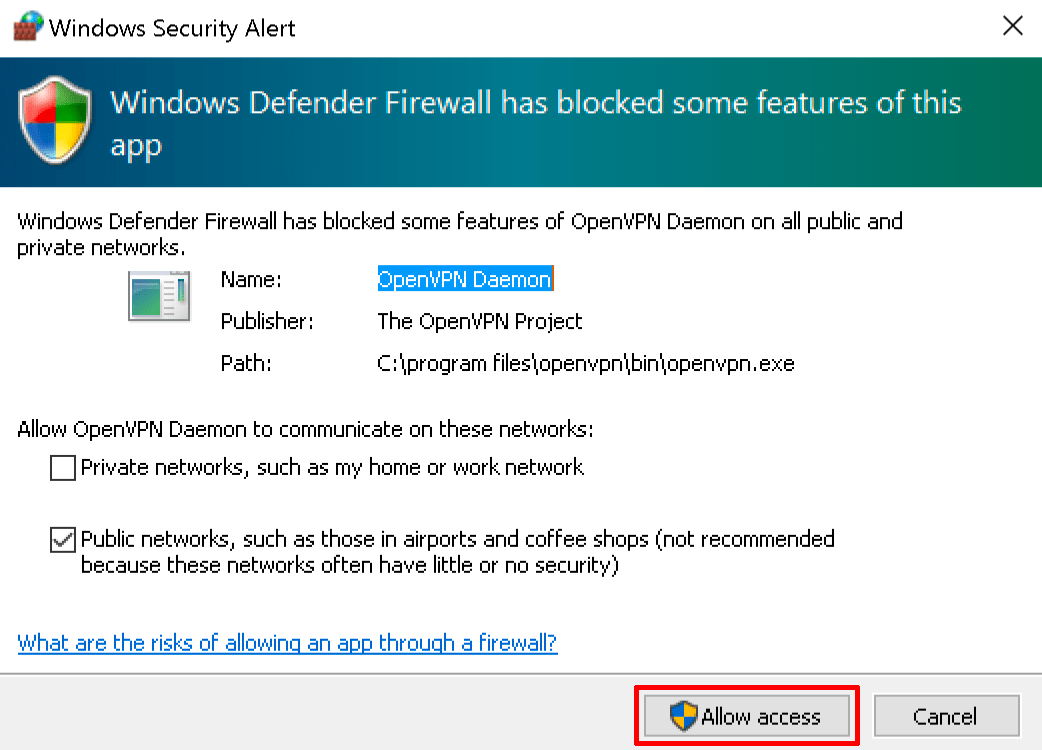
  8. Click on Allow access on the Windows Security Alert
    Celo VPN OpenVPN Windows firewall setting

To disconnect from the VPN, right click on the icon and click on disconnect button

Celo VPN Windows Disconnect
TIP

A good way to check your system for DNS leaks, visit DNS LEAK TEST and click on “Extended Test” This should show you a different IP to what you really have and different DNS servers (should not see your ISP name in the results)

Updated on November 16, 2021

Was this article helpful?

Related Articles

Need Support?
Can't find the answer you're looking for?
Contact Support